

BUT they cost usually around $250 and up. What if I told you they are pretty easy to make for half the price and a couple of hours? A great Saturday afternoon project and then you can not only have a super cool headboard to show off, but you can also say my favorite three words, "I made it!"
So pictured below is my headboard I made for my husband and I for Christmas, but I did not document it. So I was super excited when my friend Sonja asked me to help her make one for her and her fiancé's new home!

Items Needed:
- Particle Board (cut to length of your bed plus 2 inches on each side) $10
- Upholstery foam 1.5 - 2 inches thick (cut to the same size as your board) $50-$75 (cheaper online)
- Batting (cut to have enough to fold over each side of the board to cover the edges.)
- Fabric (Upholstery or strong cotton) 2.5-3 yards depending on size of the headboard. Prices range
- Buttons (as many and as big as you want!) I recommend the buttons you can cover with the fabric of your choice
- Spray Adhesive
- Big eye needle
- Yarn or a very strong thread
- Staple gun and plenty of staples
- Drill and drill bits
- Tape measure
- Marker
- Sawtooth Picture Hangers
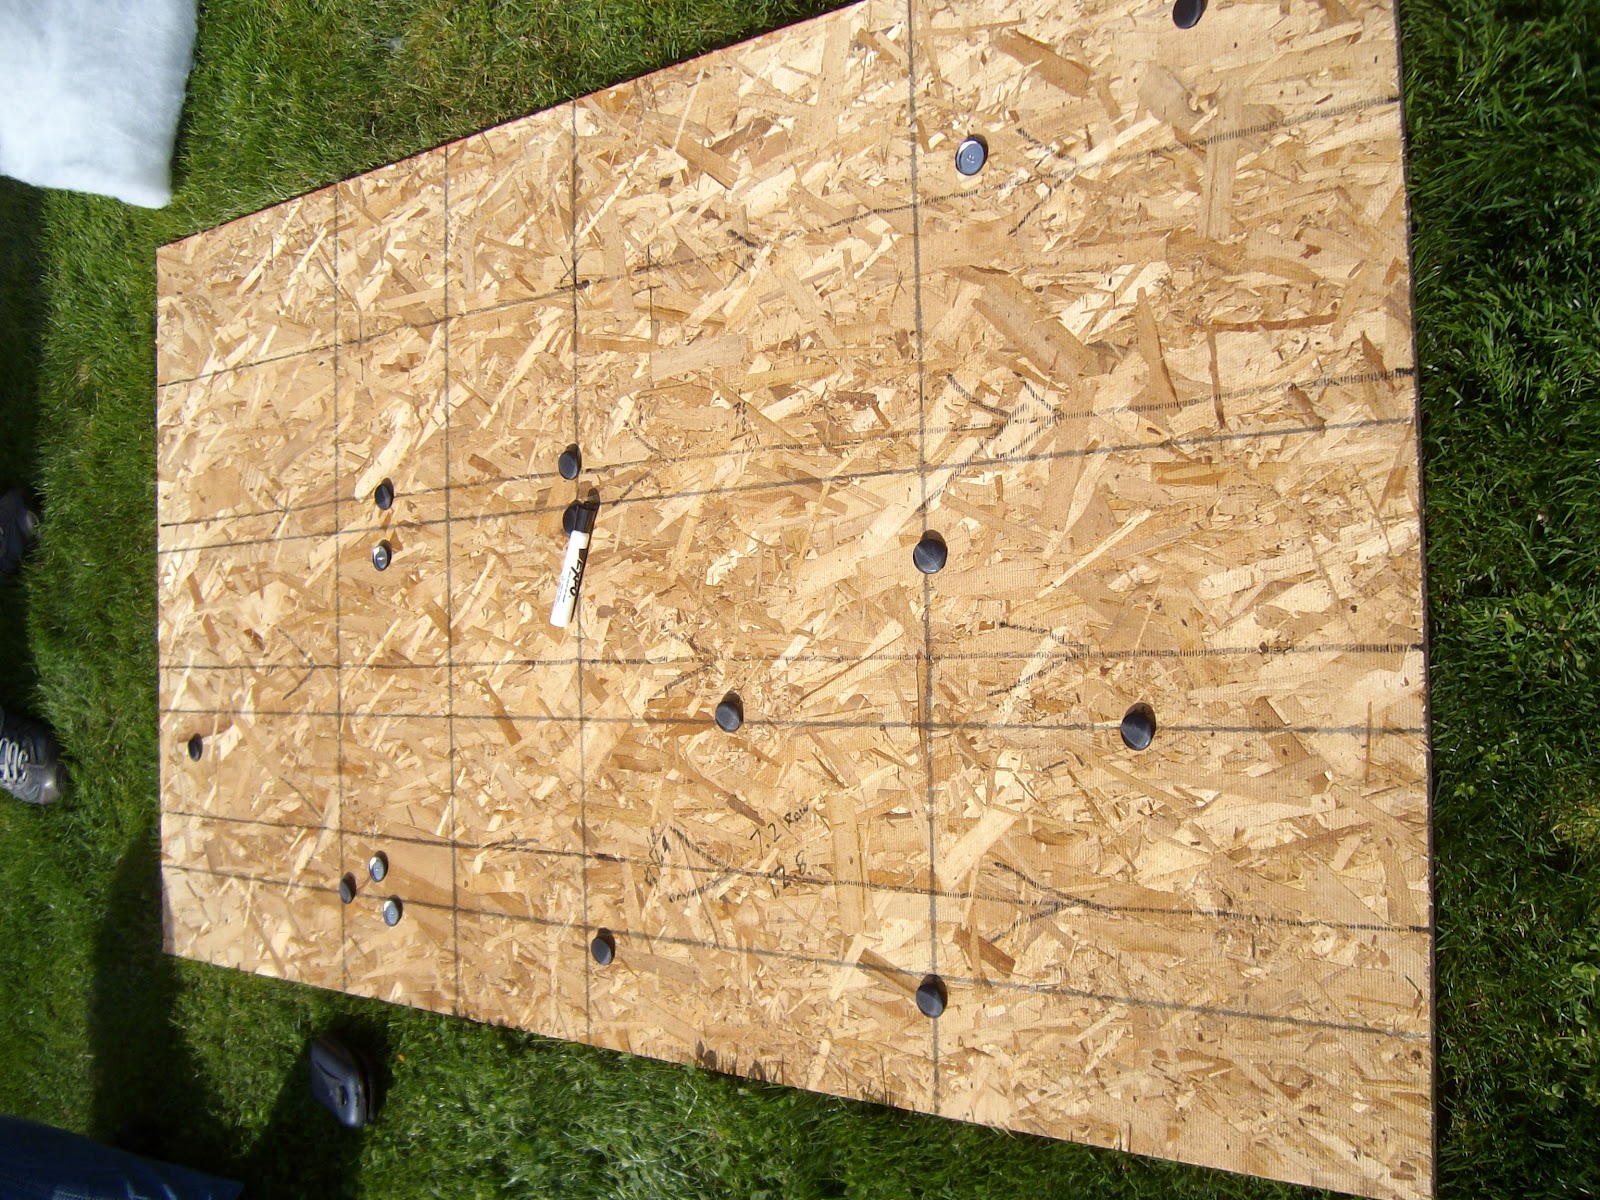
1. Map out where you want your buttons to go on your board and drill holes.
This involves some math skills, a marker, and calculator. Our board already had lines on it, but not where we wanted the buttons to go, so the picture may look confusing. We did two rows with 4 buttons and two rows with 3 buttons staggered. You want to drill a hole big enough for about 4 yarn strings to fit through it. You don't want it to be too small as it will be hard to locate later.
2. Glue down the upholstery foam, re-map out buttons and dig out button holes.
The Elmers spray glue does not offer permanent hold, it just helps to hold it in place. To find your buttons holes after the foam is on, stick something through the back of the board through the foam and then remark the placing. You will then take scissors and cut an "x" about the size of your button. Then simply pull out the foam to be the same size. You will want your button to be able to sink into the foam, but don't make it too large. This enhances the tuft look. (forgot to take a picture :( )

3. Attach the Batting
You will want the batting to cover the edges and all to pad the wood. We even took an extra piece and added extra padding to the edges. If you do not do this the wood's sharp edges could pierce through your fabric.

4. Loosely attach your fabric.
Loosely staple your fabric with a few staples in the back just to hold it in place, but allowing enough slack to make your tufts. You will probably end up having to go back and tightening them after the buttons are attached.

5. Attaching the buttons!
This honestly is the most time consuming part of the whole project. Once you get a rhythm it goes faster though! Take a large needle and string one 3 ft long pieces of yarn through it so you will have 2 tails off your needle. Poke your needle through the back of the board and up through the foam and fabric. Pull about half way through and string on your button then poke back through the way you came. Pull all tight at you can and staple the stings in place on the back in a zig zag effect to ensure tightness. You may need to hammer the staples in for better attachment.


6. So close! Tighten the fabric in the back and attach the Sawtooth Hangers to the headboard!
You will now be seeing the headboard coming together and probably falling in love! Go through and remove the original staples you put in to hold in place. When stapling the fabric you will want to fold under the edges so you are stapling through 2 layers of fabric. This will ensure a better hold and that the fabric won't rip under the pressure. You don't want to pull too tight where you flatten out the tufts, but you don't want it too looks either. The edges take some practice, of figuring out how you want it to go, but we do two folds beside the actual edge and it looks great! You will probably end up cutting off excess fabric. Now you can either leave the back unfinished (since no one will see it, or if you are anal (like my friend Sonja) you can take another piece of fabric and cover the unfinished part. Lastly attach the Sawtooth hanger. Two don't seem like it would be enough to hold the entire board, but it actually is! You will want to put anchors into the drywall with nail, or nail directly into a stud. Tada! Enjoy!


Congrats Sonja & Aaron! I'm so happy for you guys and enjoyed being able to help you with this project!


